


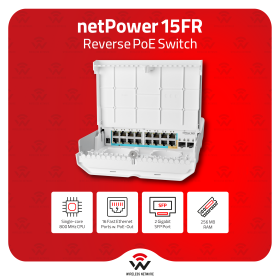
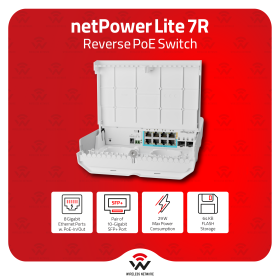


Building the Cafe Network Episode 4: MikroTik Switch VLAN Setup with AI

Table of contents

The prompt they give Claude is structured carefully. They define the goal, describe the physical connection, explain the management plan, ask Claude to inspect the current configuration, request a plan before changes, and require testing after the configuration is complete.
Prompt principle:
Do not start with commands. Start with the goal, the existing connections, the expected result, what must not be changed, and the tests that will prove success.
How They Verify VLAN 99
After Claude completes the switch configuration, Billie and Renee copy the conversation and attach the readable .rsc export for ChatGPT review. ChatGPT then asks for the WinBox screenshots needed to confirm the result.
- Bridge: confirms the management bridge is running with VLAN filtering enabled.
- Bridge Ports: confirms SFP+1 and ether17 are part of the management bridge, with ether17 using PVID 99.
- Bridge VLANs: confirms VLAN 99 is tagged through the bridge and SFP+1, and untagged on ether17.
- VLAN Interface: confirms vlan-mgmt-99 uses VLAN ID 99 and is running on the bridge.
- DHCP Client: confirms the switch receives an address on the 10.10.99.0/24 network.
- Laptop tests: confirm the laptop receives a management IP and can ping the router, the switch, and the internet.
The test laptop receives 10.10.99.149. The switch receives 10.10.99.150 during testing. The pings to the router, switch, and internet return with 0 percent packet loss, proving that the management VLAN is working properly.
After that, they remove the temporary IP addresses from switch ether17 and router ether2 because proper VLAN management is now available.
Predictable Management Addresses
For a business network, predictable management addresses make support easier. Billie and Renee reserve the switch DHCP lease on the router and change the switch management address to 10.10.99.2. After rebooting, the switch receives the reserved address and appears correctly in WinBox neighbors.
| Device | Management IP |
|---|---|
| Router | 10.10.99.1 |
| Switch | 10.10.99.2 |
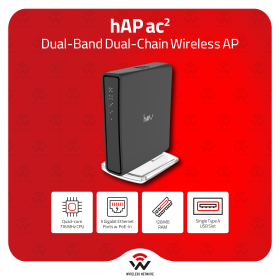
| Interior AP | 10.10.99.3 |
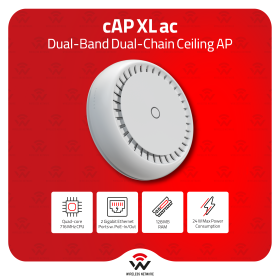
| Exterior AP | 10.10.99.4 |
Stage 2: Assigning Wired VLAN Ports
With VLAN 99 confirmed, the next job is assigning the wired business VLANs to their switch ports. The access point ports, guest VLAN, and VIP VLAN are intentionally left for the next stage because the next episode focuses on AP setup.
| Switch Port | VLAN | Purpose |
|---|---|---|
| ether1, ether2, ether3 | VLAN 10 | Staff / Operation |
| ether4 | VLAN 40 | POS |
| ether11, ether12 | VLAN 50 | CCTV / IoT |
| ether6 | VLAN 60 | Printer |
| ether13 | VLAN 70 | VoIP |
The expectation is simple: a normal device connected to one of these ports should automatically join the assigned VLAN and receive an IP address from the router's DHCP server. The switch places the device into the correct VLAN; the router provides the gateway, DHCP service, and internet access where applicable.
Verification After Port Assignment
ChatGPT reviews the completed switch-side configuration and asks for another evidence set: Bridge Ports, Bridge VLANs, Interfaces, Management DHCP Client, and Bridge Hosts after testing.
The screenshots confirm that VLANs 10, 40, 50, 60, 70, and 99 exist and that SFP+1 carries them toward the router. VLAN 99 management remains working through ether17, and the DHCP client on vlan-mgmt-99 is bound to 10.10.99.2/24.
At first, DHCP, gateway, isolation, and internet access from the physical device ports are still unverified because no test devices have been connected. Billie and Renee then connect a test laptop, disable Wi-Fi, set Ethernet to obtain IP and DNS automatically, and confirm that the laptop receives the correct VLAN address. The laptop receives 10.10.10.100 on the staff network and successfully pings the VLAN gateway and 1.1.1.1 with 0 percent packet loss.
Final result:
After repeating the same testing process on the designated ports, every wired port can send and receive traffic through the correct VLAN. The switch VLAN setup is complete, and the cafe network is ready for the next stage: access point setup.
How This Helps Small Businesses
A clean network design can reduce support cost, reduce downtime, and make future services easier to add. For a cafe, restaurant, retail shop, clinic, office, or small service business, that means owners do not need to overpay every month for avoidable manual work. They can use AI-assisted guidance to understand the plan, request the right configuration, verify the result, and keep documentation ready for future maintenance.
This is where Wireless Net Canada and Wireless Netware Technology position the service as more than hardware supply. The value is in the complete solution: MikroTik products, practical business planning, configuration workflows, AI-supported verification, future hotspot service, payment integration, and a support model that helps customers become more independent.
The goal is not to replace expertise. The goal is to make expertise more accessible, repeatable, and affordable so business owners can improve service, respond faster to customers, protect their infrastructure, and spend more of their budget on the real cost of doing business.
What Comes Next
In the next stage, Billie and Renee move into access point setup. That will bring the guest and VIP wireless experience into the network plan, along with the AP management addresses already reserved in VLAN 99.
From there, the series can continue toward firewall rules, emergency access, hotspot design, customer login flow, payment integration, and long-term maintenance. Step by step, the cafe network becomes a ready-to-go business service instead of a one-time technical setup.
Related Posts


https://mikrotik.com/aboutus/company
The MikroTik website has been redesigned—and it works very differently than before.
This guide walks you through the new MikroTik website section by section, explaining how to navigate hardware, software, training, distributors, support, and documentation efficiently. It also explains where MikroTik comes from, how RouterOS changed networking, and how MikroTik Canada and Wireless Netware support users across Canada and the US with training, consulting, hardware, and real-world expertise.